

Behind the Scenes: What Really Goes Into a Garden Design
When you look at a finished garden design, you will likely only see the end result, rather than everything that went into creating it. A design plan might look beautifully simple on paper, and a 3D visual can make a garden appear almost effortless. But behind every line, plant and material is a surprisingly large amount of thought, research and refinement.
I thought it might be interesting to take you behind the scenes of a garden design and show you what actually happens between our first conversation and the finished design.
It begins long before I draw anything
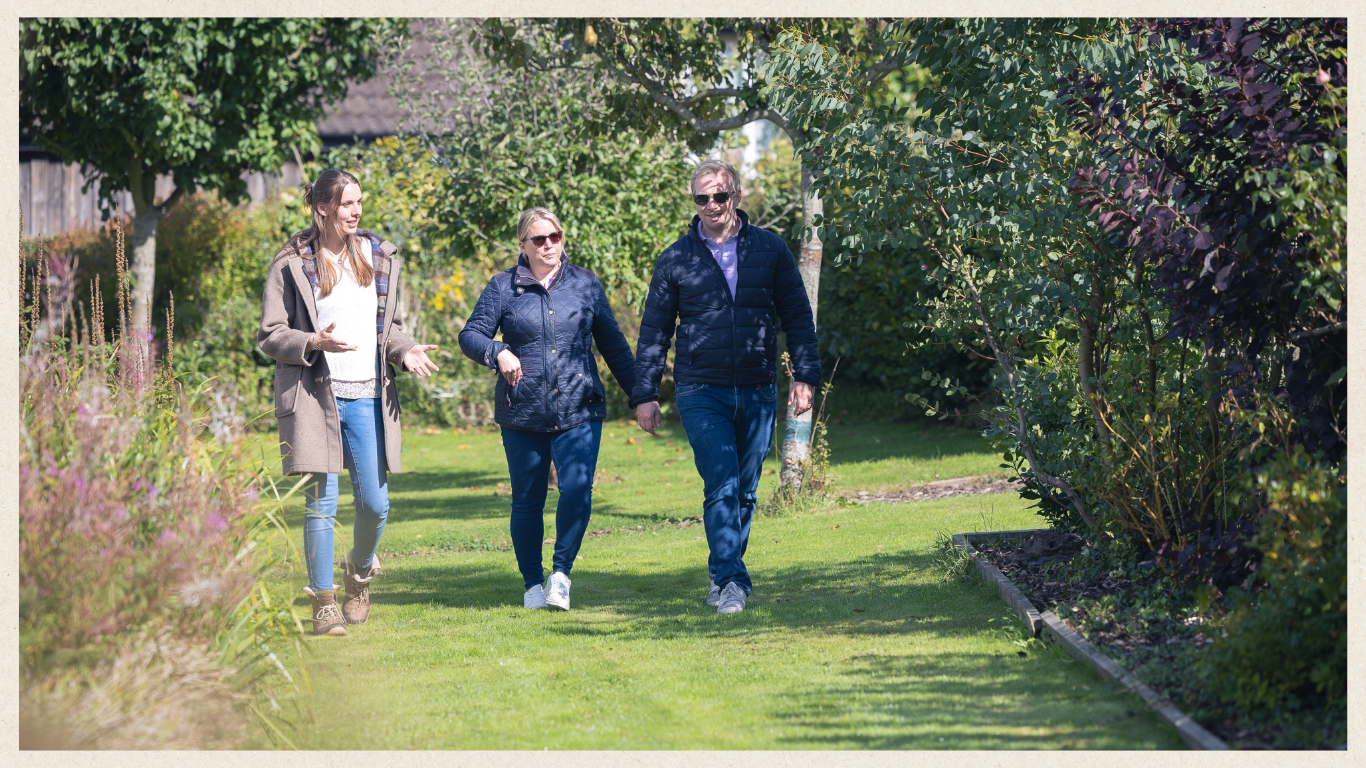
Before I put pencil to paper, understanding my clients and their garden is the first step. I send out a questionnaire before our first meeting, which gives my clients the chance to think about what they would really like from their garden. We then discuss this in much more detail when we meet.
I want to hear how they feel about their garden, how they use it, what they love about it and, just as importantly, what they don't like. Often, the questionnaire prompts people to think about their garden in ways they hadn't considered before, so by the time we meet, there is usually lots to talk about.
I always say, “Don't worry about whether it sounds completely mad to have something in your garden. Just tell me what you would love, and we can work together to whittle those ideas down into a realistic and affordable garden that you love.”
Then comes understanding the site itself.
I need to assess all the conditions that will influence the design: the soil type and health, wind direction, sun and shade, areas that are prone to winter wet, drainage, wildlife, existing features and the materials already being used around the house and garden.
I also look carefully at the views from the house. What can you see from the kitchen? From the living room? What do you see when you step outside? Which parts of the garden naturally draw your eye, and which might need something more interesting to look at?
Every garden presents a different puzzle. I need to find a way to bring together the clients, their wishes and the land they have, and turn all of those things into one cohesive garden.
First sketches
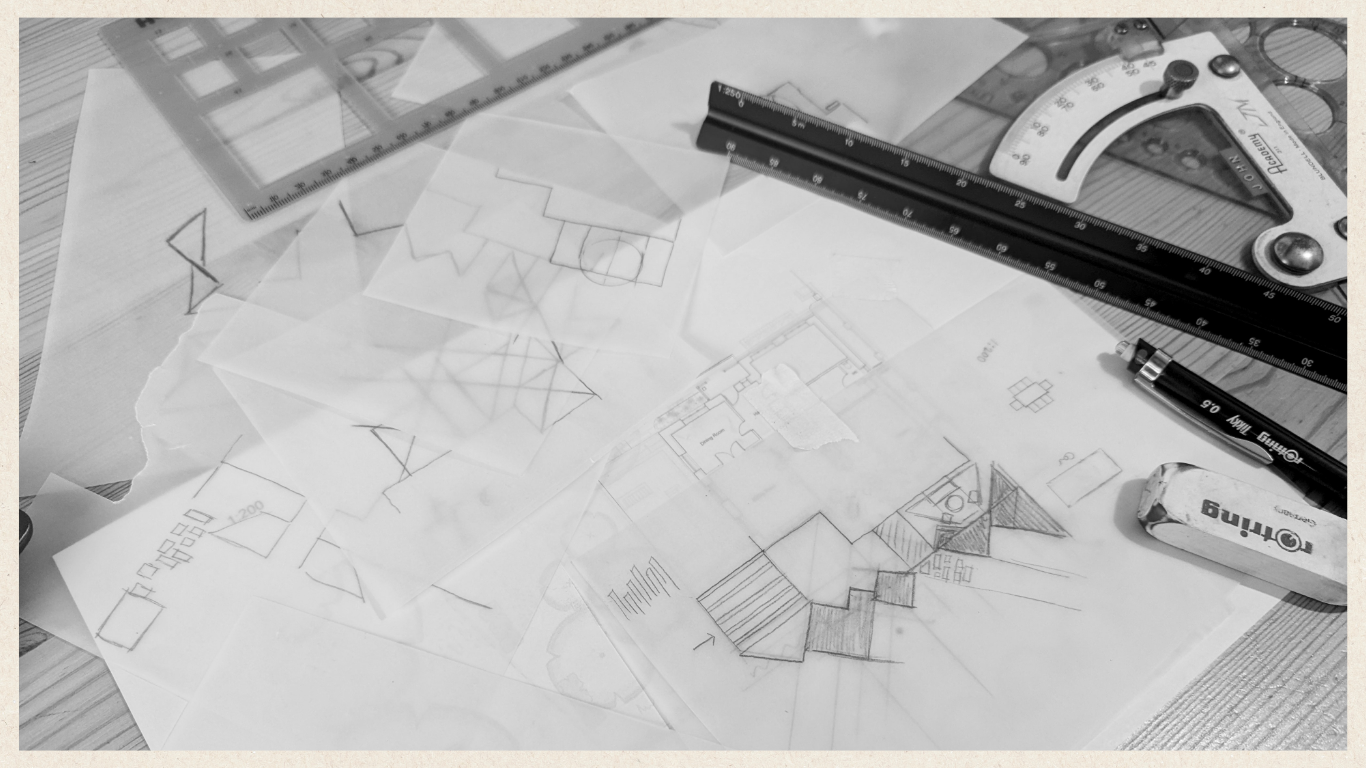
The beginning stages of a design are creative and artistic, so I like to use my hands to draw rather than a computer. Ideas come quickly and go quickly, and I need to be able to work fast enough to keep up with them.
I use the survey as a base for the design, with tracing paper layered over the top so I can sketch out layout after layout.
It isn't simply a case of drawing some attractive shapes on a piece of paper (although that would make things considerably easier!).
I'm thinking about everything I learnt on site and everything my clients have told me. Proportions, space, flow, the relationship between different areas, where the eye travels, how someone might move through the garden, and how the garden connects to the house all come into play.
At this stage, I try not to let practicality influence every idea. I find that can squash the creative flow, and practicality comes later. For now, it's about being open to possibilities and trying anything and everything.
I'm often surprised by what eventually works.
The three-dimensional model
Once I've found a layout I really like, I need to see how it works in three dimensions.
Does it actually work? What will it look like from the house? How will the different spaces relate to one another? Will the proportions feel right?
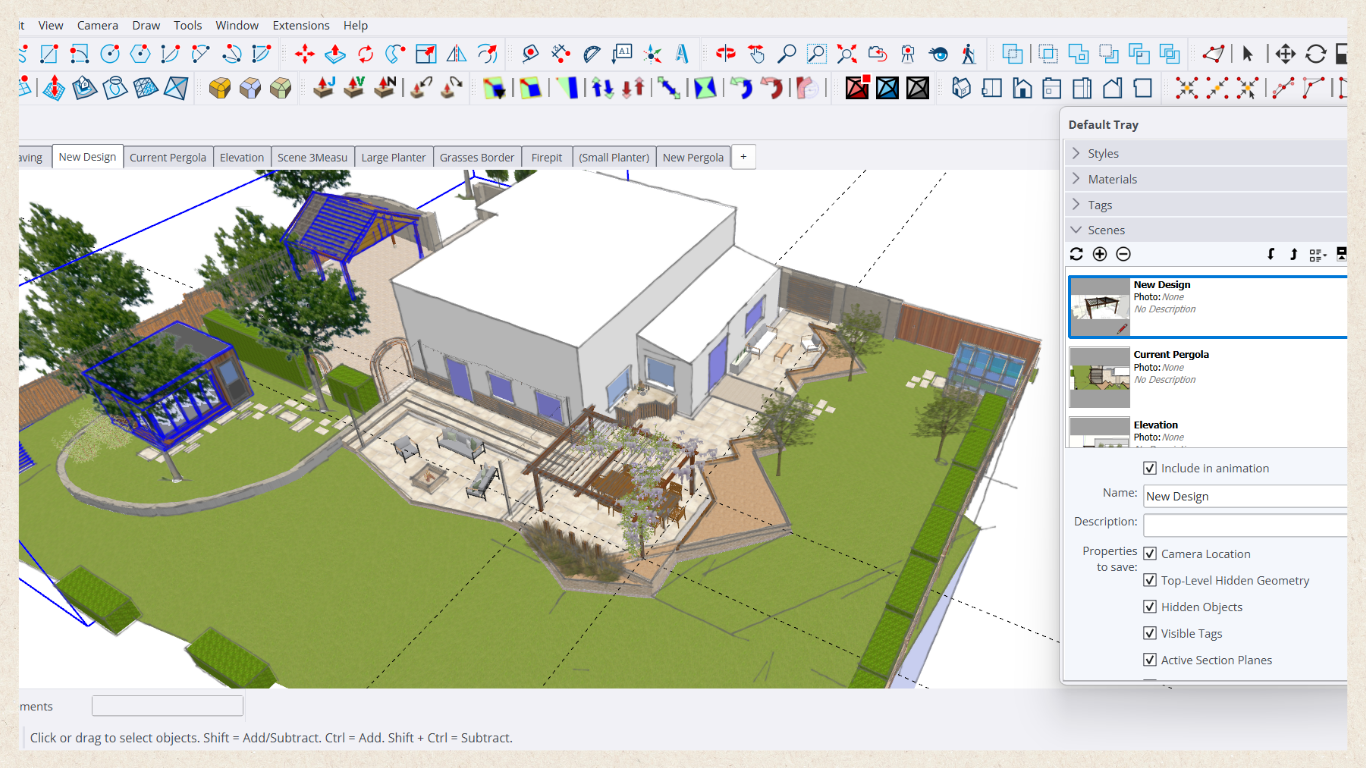
I use SketchUp to create a computer model, but first I need to import the survey and potential layout into the programme. From there, I build the garden up piece by piece.
Every part of the house and new garden needs to be drawn: every wall, step, paving area, hedge and change in level.
There are features that can be imported, such as pergolas, furniture and firepits, but there are often many different styles and versions to choose from. Each one needs to be adjusted, changed and resized to suit the garden and the look I'm trying to convey.
Even after years of doing this, it is still time-consuming.
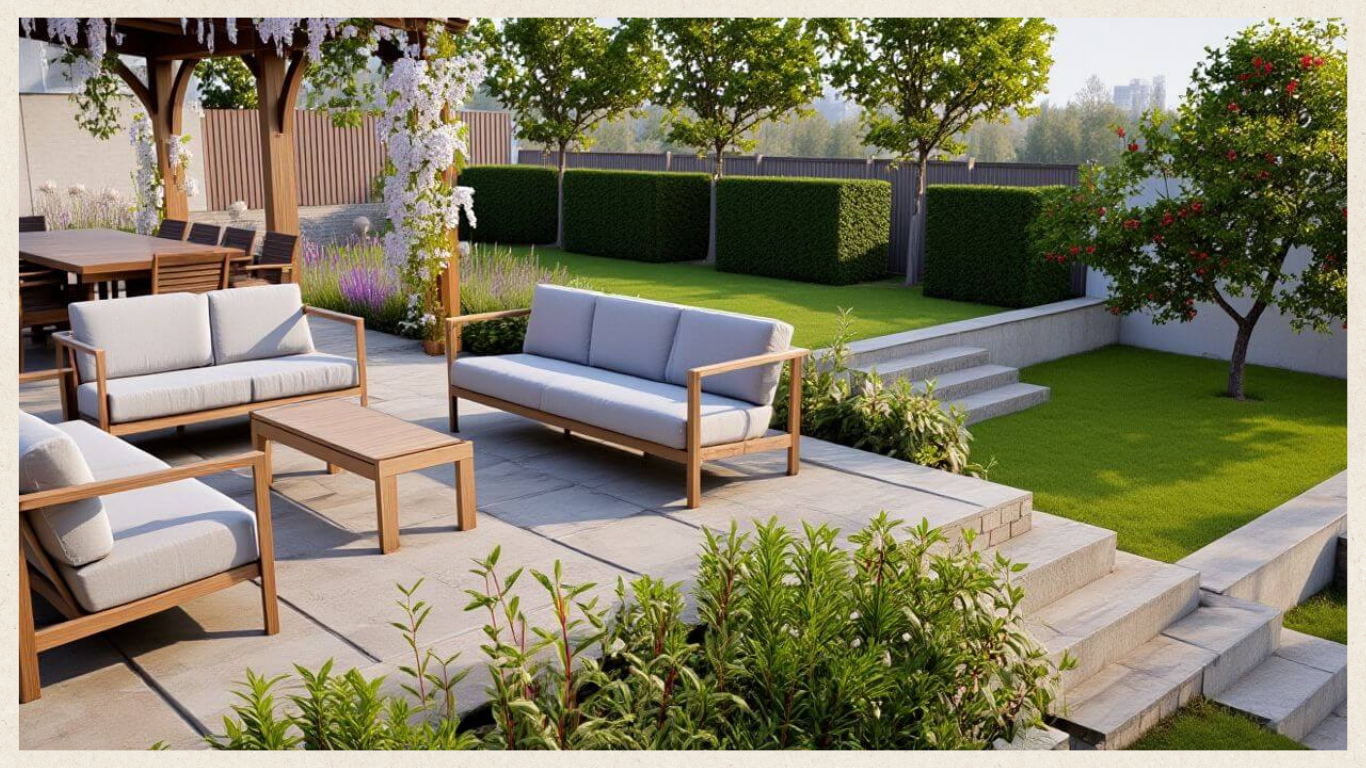
Once I'm happy with the model, I then need to choose the best views to present to my client. These images need to look beautiful, but they also need to be accurate enough for the client to properly understand the design and imagine themselves in the finished garden.
A finished 3D image can look almost effortless. The model behind it is anything but.
Research
Because every garden and every client is completely bespoke, each project needs its own research.
I have my own database of materials, suppliers and plants, built up through years of experience, which is incredibly useful. But no database can provide an instant answer for every garden. Every client has different tastes, requirements and priorities, and every site brings its own challenges.
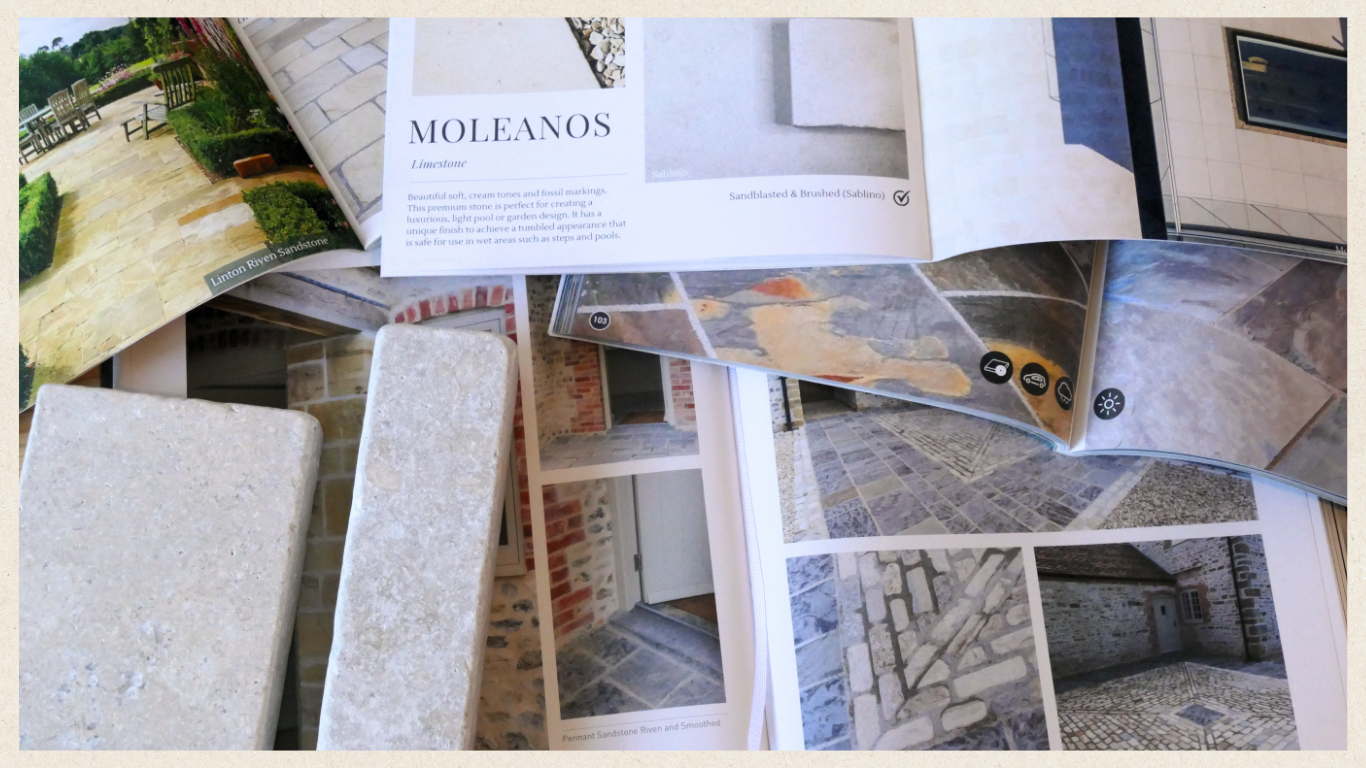
Each design can involve researching a huge range of materials, from stone paving, cobbles, setts and gravel to different types of timber for a pergola, an outdoor kitchen or bespoke seating.
Every material needs to be considered for its durability, suitability, appearance and environmental impact. Then comes the search for the right supplier, checking prices, availability and delivery.
Where possible, I like to find good quality materials from as local a source as I can, while also making sure they represent good value for my clients.
To bring all of this information together, I create moodboards for different areas of the garden. These combine my 3D visuals with existing images, materials and planting ideas, helping the client to see how all the different elements of the garden will work together.
The living part that completes a garden
This is truly the life of a garden, quite literally.
Without plants, a garden can appear a little like a car park. And no one wants to relax in a car park.
Selecting a collection of plants isn't simply about choosing pretty plants. It is surprisingly complicated, and even after doing this for years, it still really makes me use my brain.
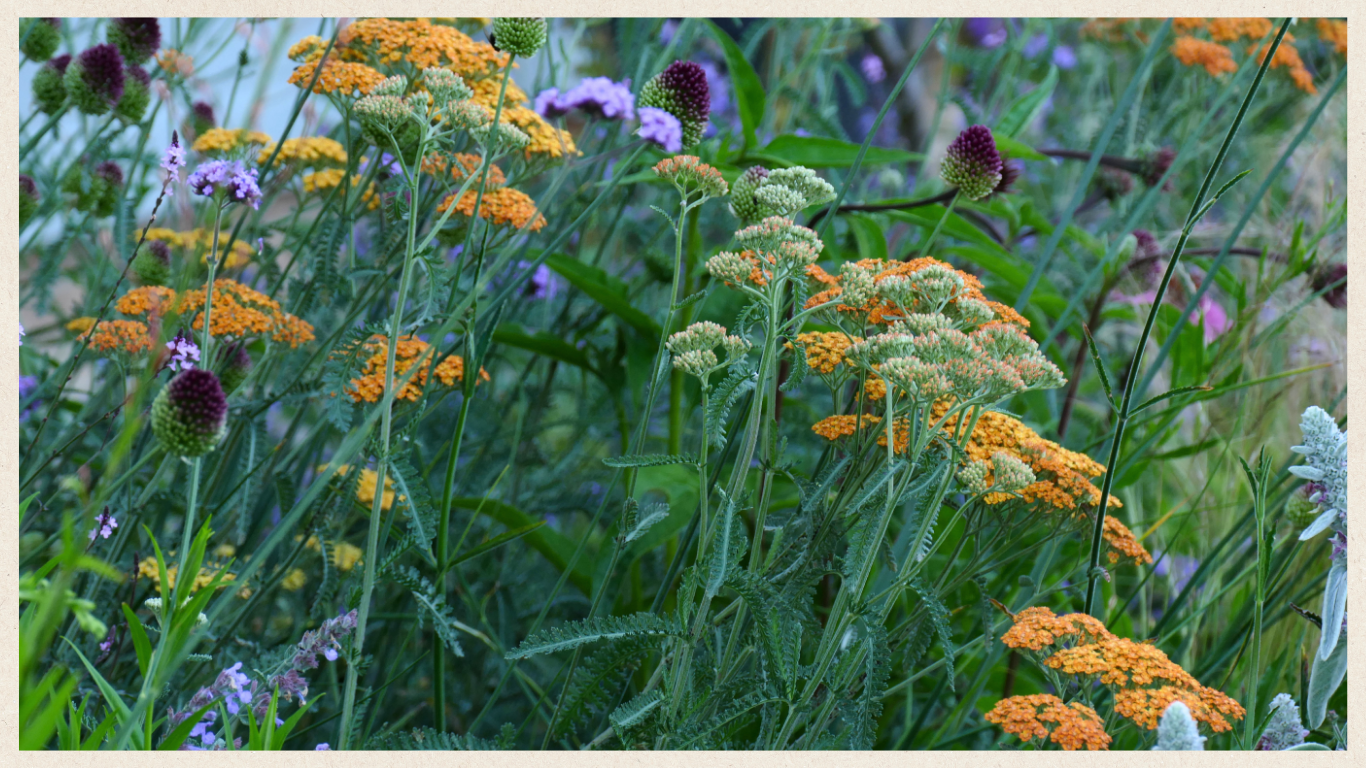
As I select plants, I need to consider the existing site — its soil, aspect, drainage, wind and exposure — alongside the characteristics of each plant.
How long is its season of interest? What colour and texture will it bring? How tall and wide will it eventually become? What are its maintenance and water requirements? What soil does it need? How will it relate to its neighbours? And what role is it playing within the planting scheme?
I only choose plants I know I can trust to do what they are meant to do. I have my own collection of reliable favourites — the plants I know will perform well in the right conditions.
More than ten years of running a gardening business has taught me which plants are robust and dependable, and which can be a little more fussy and needy.
But even with that experience and a huge database of plants in my head, choosing the right combination for each individual garden takes time. I'm not simply looking for plants that will look beautiful at one particular moment. I'm trying to create planting that changes and develops throughout the seasons, with flowers, foliage, structure, texture and seedheads providing interest at different times of the year.
The aim is for the planting to feel natural and effortless when you look at it. Creating that effortless feeling takes quite a lot of thought.
The final plans
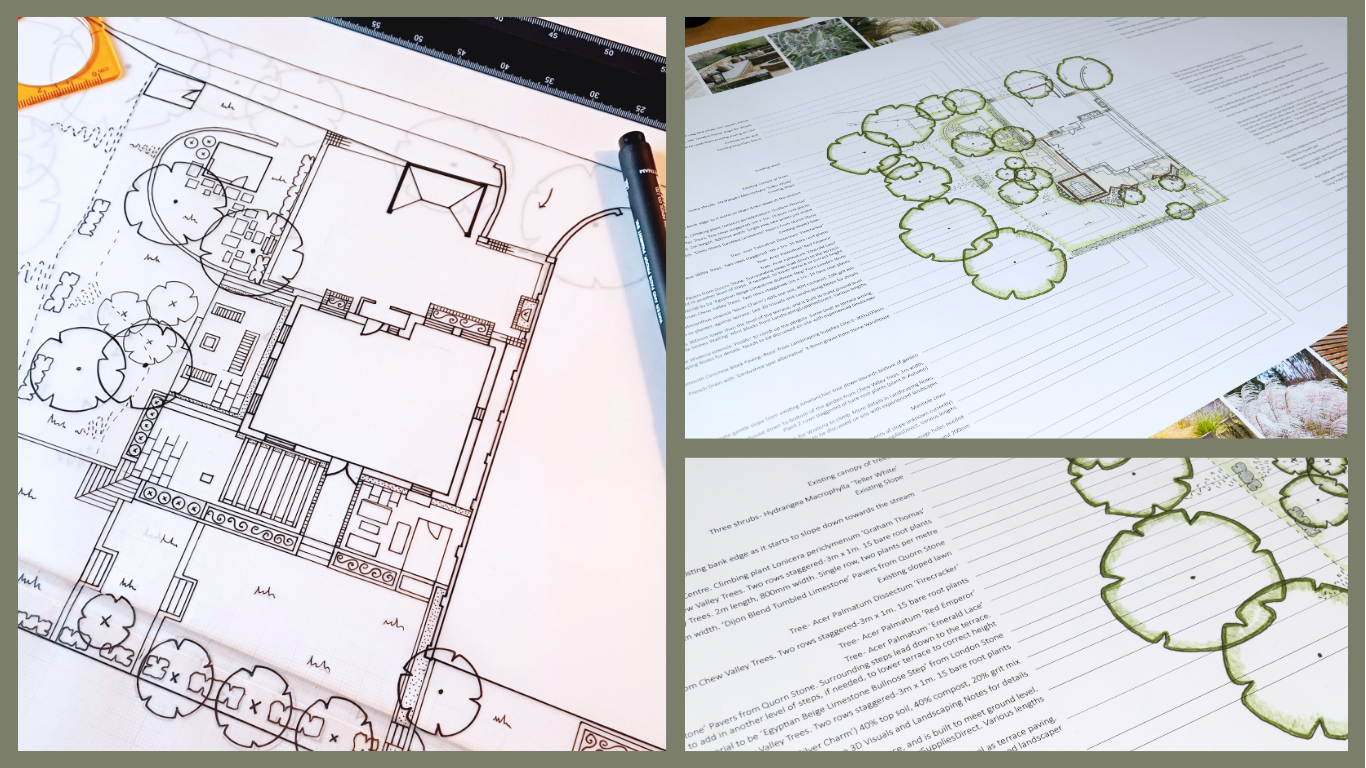
The final plan, called the Master Layout Plan, is the blueprint for the new garden.
First, it is hand-drawn in pencil to make sure I get all the dimensions correct. Everything drawn on the plan needs to be accurately to scale, with as much precision as possible. This is the plan the landscaper will build from, so it needs to be right.
I then trace over the drawing by hand with a black fine-nibbed pen. If I make a significant mistake at this stage, I have to start again with a fresh piece of paper.
Once the hand drawing is complete, I scan it onto the computer and begin adding the annotations.
Every single thing I've drawn needs to be labelled, describing what it is, what it is made from, and which supplier it comes from. Existing features that are being retained also need to be clearly identified.
And this is something that's quite important to me: it needs to look good too.
Every line needs to be straight and line up properly. I like to add images to the plan, not only to make what is essentially a technical drawing a little nicer to look at, but also to help describe the intended appearance of something to both the landscaper and the client.
The planting plans follow a similar process, although I've found that creating these digitally makes the layout much easier and quicker.
I first create symbols representing the exact eventual spread of each plant or shrub and assign colours to the different plants. I can then build up the planting scheme, using my imagination while keeping in mind the height, role and character of each plant and how it relates to its neighbours.
I also need to think about repetition and rhythm. Each plant needs to appear in the right number of groups and be distributed across the border in a way that feels balanced rather than forced.
With perhaps ten to fifteen different plants in a scheme, I need to consider how they will look together in every season and make sure that the plants providing interest at different times are spread throughout the border.
The finished planting should feel effortless, but there is a surprising amount of thought behind that effortless appearance.
The extra details
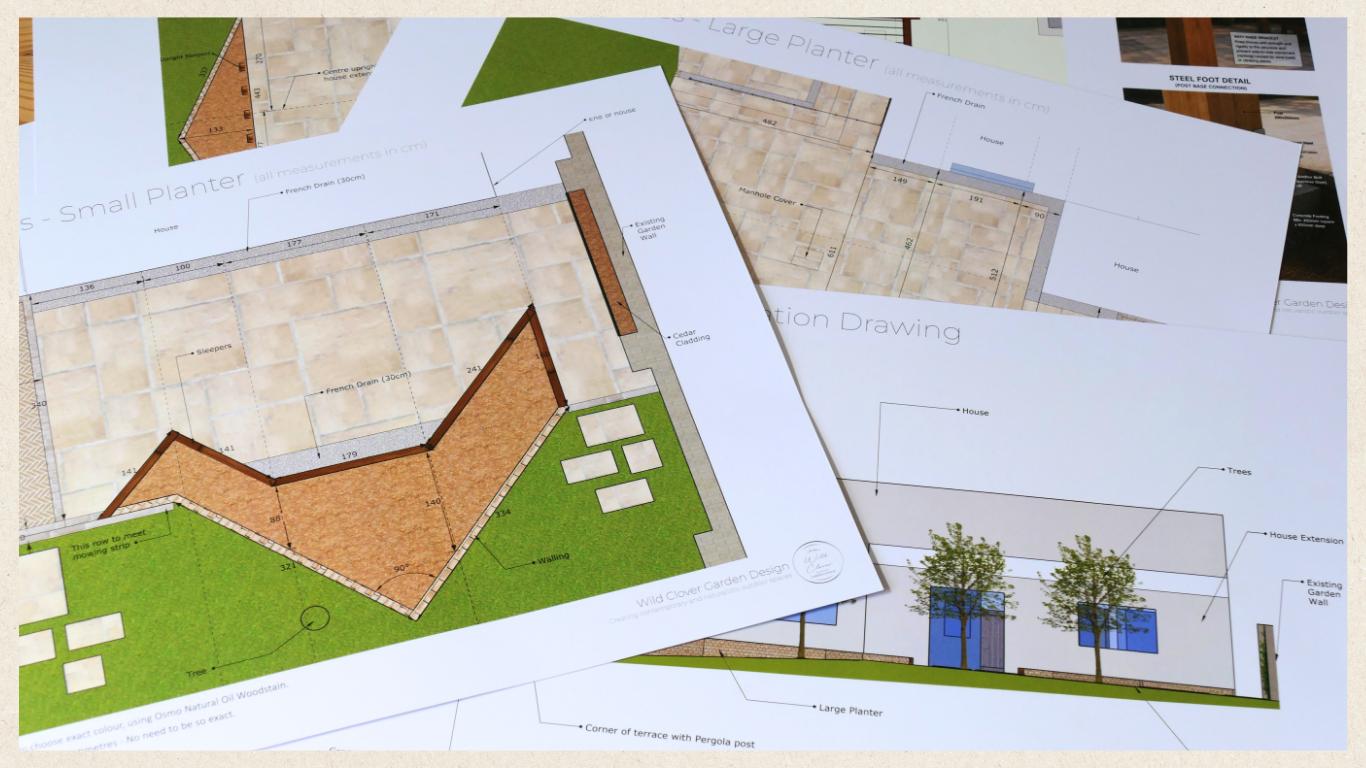
I think it's the extra pieces of information that complete a design package and help to make the garden easier to build.
These might be additional dimensions for areas where it would take time to work them out from a scaled drawing, such as the measurements of a new border and how close it sits to the house.
I might include details of a pergola and how it could be built to increase its strength and durability, information about how to establish a meadow, or a maintenance plan for the new planting.
I also like to provide a plant schedule: a clear list of all the new plants, shrubs and trees in the garden, making it straightforward for purchasing.
Essentially, if there is information I think will be useful to the client or the people building the garden, I like to include it.
Every garden design is unique
Having years of accumulated design and horticultural knowledge helps enormously when creating a garden. But because every client and every garden is different, each design still starts from its own set of questions and possibilities.
This is one of the reasons I find designing gardens so special. I'm creating a new space that is entirely shaped around the people who will use it, the place they live in and the way they want to feel in their garden.
A garden design isn't one big creative decision. It's hundreds of small decisions that gradually come together.
The finished design might eventually sit quietly on a piece of paper or appear as a beautiful image on a screen. But behind it are many hours of drawing, modelling, researching, measuring, comparing, refining and, most importantly, thinking.
That's one of my favourite things about garden design. The final garden may look natural and effortless, but getting there is a wonderfully detailed process.
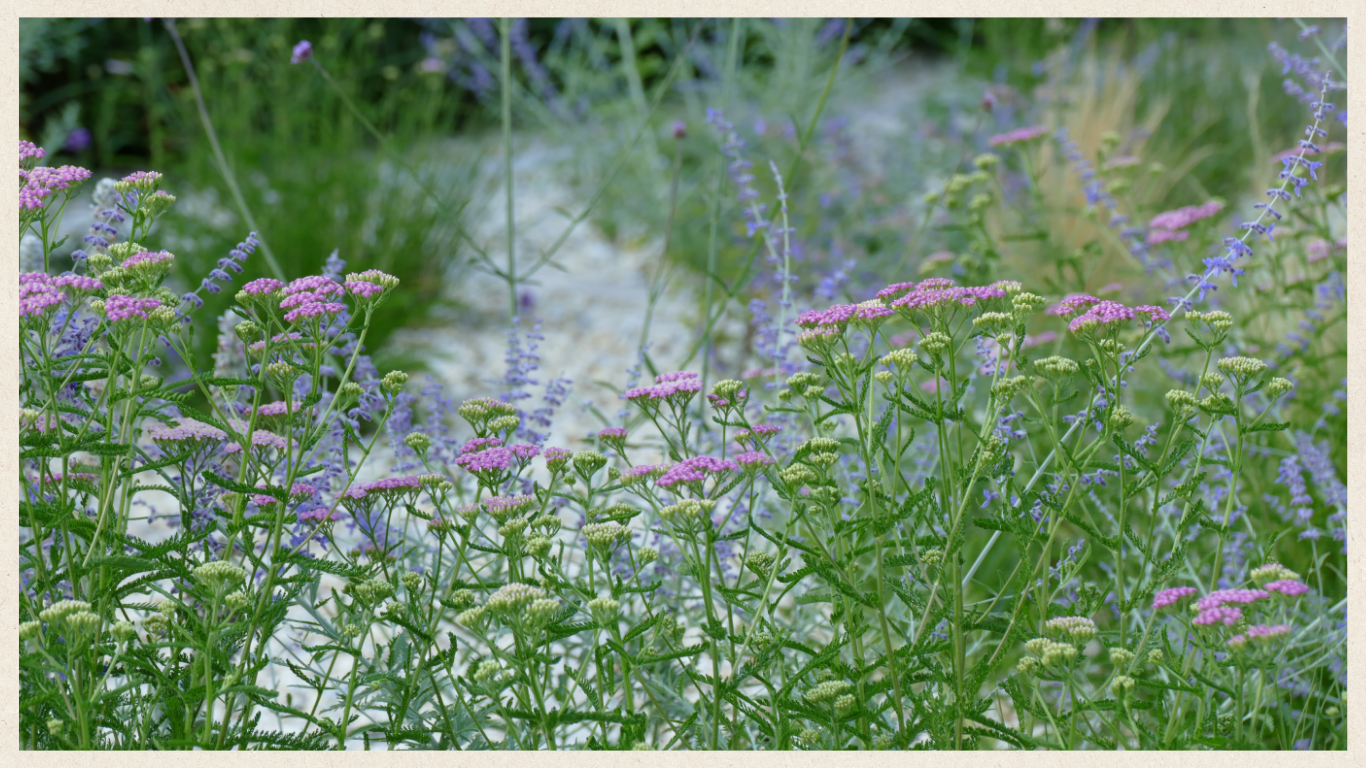
A well-designed garden brings together the way you live, the character of your home and the unique qualities of your site. If you're ready to start thinking about your own garden, I'd love to hear your ideas.